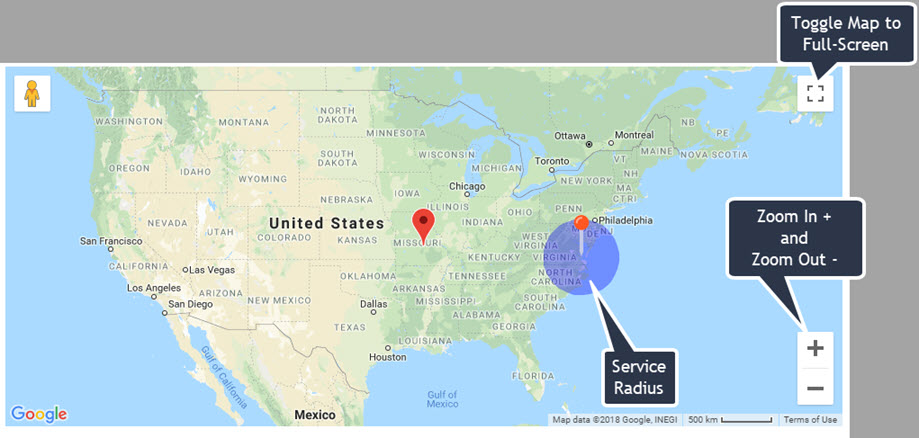
Edit Properties
For the purposes of tax payment verification, it is important for vendors to provide the Parcel Identification of all the properties owned by their organization.
Buyers, too, may view, add, edit or delete vendor property addresses.
The Property Addresses page uses Google® Maps to validate and pinpoint addresses.
To access your property addresses, select the My Account link from your user menu, then select Edit Properties.
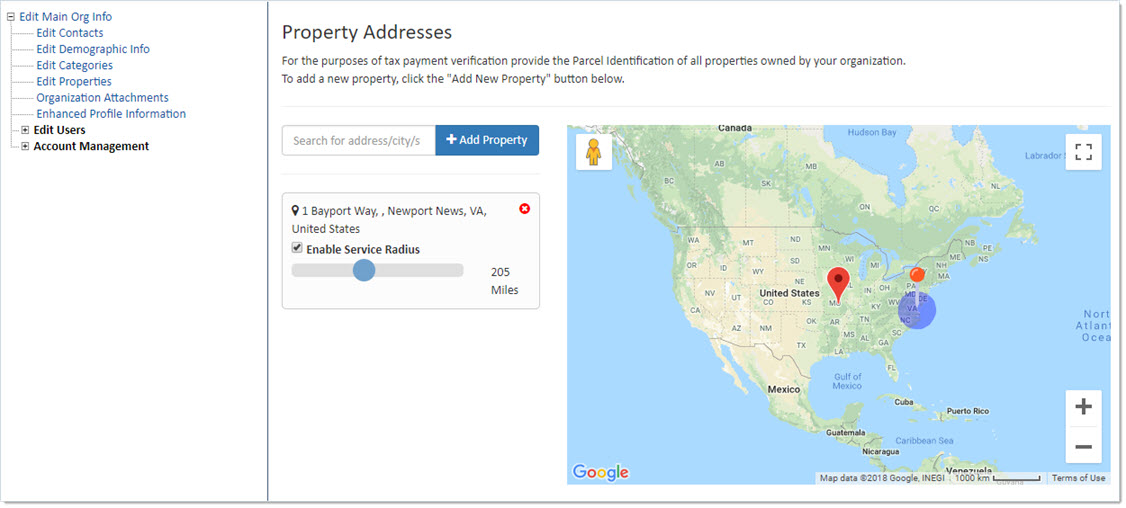
Existing addresses, if any, will display.
Add New Property
To add a new property, enter the address in the Search for address/city/state/country text box.

As you begin entering text, the system will automatically retrieve matching results.
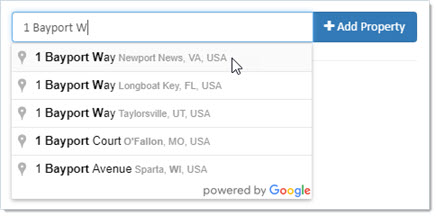
Locate your desired address on the list, select it and click Add Property.
The Property Addresses page will refresh to display a pinpoint on the map and the address.
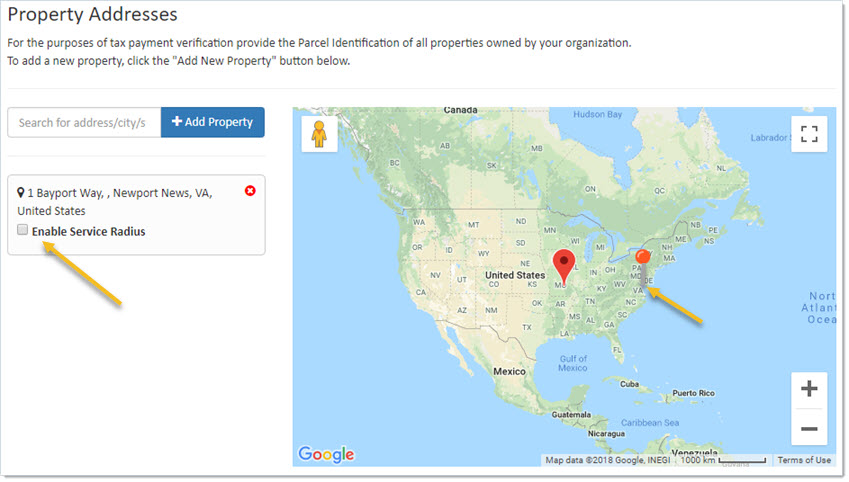
Repeat the above add steps for each new address to be documented in the system.
Enable Service Radius
To enable the service area radius for your vendor organization, check the Enable Service Radius check box.
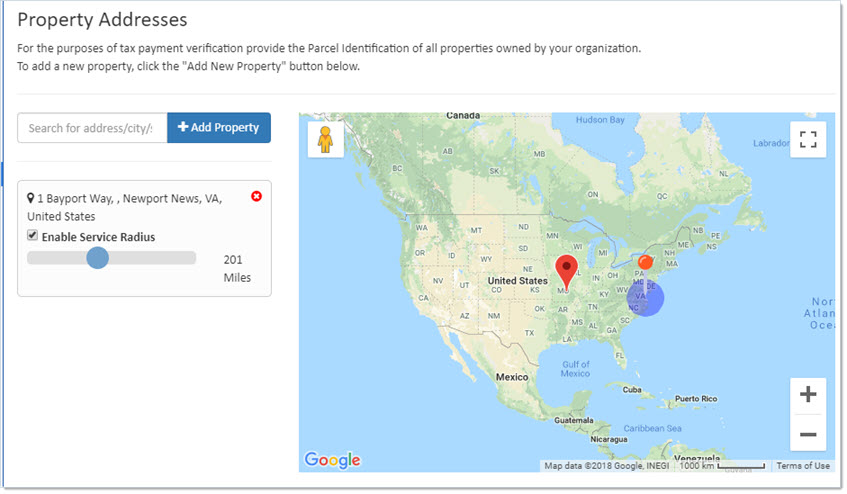
Once enabled, the mileage slider displays.
Slide the blue dot from left to right to select the correct number of miles that serves as the vendor's service radius.
As you move the slider, the blue circle radius indicator will grow or shrink accordingly.
The number of miles selected is shown to the right of the slider.
Remove Property Address
To remove a property address, select the red icon  located to the right of
the address.
The following confirmation message displays:

Click OK to proceed with address removal.
Cancel ends the address removal process; property address remains intact.
Google Maps API
