Role Management
Role Management is used to create, edit, and manage roles that may be assigned to users.
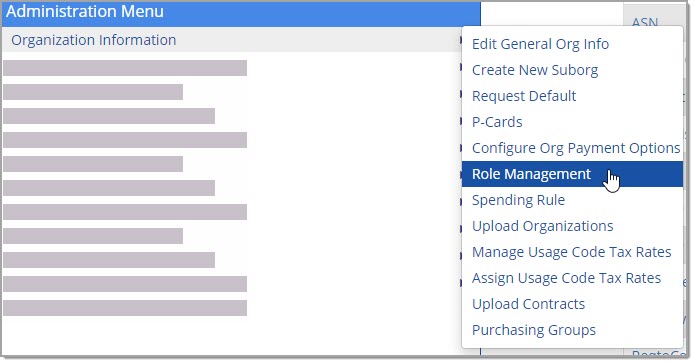
Select Role Management from the Organization Information menu.
The Add New Role page opens:

Key Points
-
Think of Roles as containers that hold one or more privileges.
-
A privilege may have different Scopes:
-
N/A - If a role contains a privilege with a scope of NA, it means the privilege does not have a defined scope.
-
User - If a role contains a privilege with a scope of User, it means the user may only administer, edit, delete, etc. items/documents that they own.
-
Borg - If a role contains a privilege with a scope of Borg, it means the user may administer, edit, delete, etc. items/documents that they own plus all items/documents in their assigned organization.
-
Super Org - If a role contains a privilege with a scope of Super Org, it means the user may administer, edit, delete, etc. items/documents that they own plus all items/documents in all sub or child organizations.
-
Enterprise - If a role contains a privilege with a scope of Enterprise, it means the user may administer, edit, delete, etc. items/documents that they own plus all items/documents across all organizations.
-
The Add New Role page allows users to:
Each action is discussed below:
Add New Role
To add a new role, click the Add New Role button.
The Add Role page opens:

In the Role Name text box, enter a descriptive name for the new role.
NOTE: Role Names must be unique.
Scroll through the listing of privileges and check the Enable box for one or more privileges that this role will consist of.
Once all privileges for the role have been established, be sure to click Save at the top of the page.
Once saved, the page will refresh to display two tabs at the top of the page:
-
Privileges
-
Users
There will also be additional action buttons available:
-
Save
-
Delete
-
Save As
Privileges
By default, after a new role is created and saved, the page refreshes to display the default tab of Privileges.

Save
While on this tab, you may add/remove privileges as needed.
Be sure to Save any changes.
Save As
Or, you may add/remove privileges as needed, provide a new Role Name.
In this scenario, be sure to click the Save As button.
You will land on the Privileges tab.
Delete
You may also Delete the displayed role by selecting the Delete button.
A confirmation message will display:

Click OK to proceed with deleting the role. You will be returned to the Add New Role page.
Choose Cancel to end the deletion process; the role remains intact.
Users
The second tab available after saving a new role, is the Users tab.
Select Users to view the users that currently have this role assigned.
Edit Role
From the Actions column on the Add New Role page, select the Edit  icon to modify the privileges or name for a current role.
If you wish to modify the existing Role Name, simply make changes as needed.
-
Click Save to overwrite the existing Role Name.
-
Click Save As to create a new Role.
If you wish to modify the existing privileges, scroll through the listing of roles and...
-
To remove a privilege, clear the Enable check box located to the right of the Privilege name
-
To add a privilege, select the Enable check box located to the right of the Privilege name
If you wish to remove the Role entirely, click the Delete button.
A confirmation message will display:
Click OK to proceed with deleting the role. You will be returned to the Add New Role page.
Choose Cancel to end the deletion process; the role remains intact.
Delete Role
From the Actions column on the Add New Role page, select the Delete  icon to remove an existing role.
A confirmation message will display:

Click OK to proceed with deleting the role. You will be returned to the Add New Role page.
Choose Cancel to end the deletion process; the role remains intact.
Copy Role
From the Actions column on the Copy Role page, select the Copy Role icon to copy an existing role.
The following window opens:

Enter a unique Role Name.
Click Save.
Choose Cancel to close this window without creating a copy of the role.
If you chose Save, the application opens to the Role Details page.
The assigned privileges from the copied role will be already enabled.
If you wish to modify the existing privileges, scroll through the listing of roles and...
-
To remove a privilege, clear the Enable check box located to the right of the Privilege name
-
To add a privilege, select the Enable check box located to the right of the Privilege name
If you wish to remove the Role entirely, click the Delete button.
A confirmation message will display:
Click OK to proceed with deleting the role. You will be returned to the Add New Role page.
Choose Cancel to end the deletion process; the role remains intact.
Privileges Related to Admin Sections & Subsections
There are categories that are specific to the administration of WebProcure including some that specifically drive what the user has access to within the Configure Documents and Organization Information sub-menus.
| Roles and Privileges | |
| Role Category | Privileges |
| Admin-Admin |
Admin (Access to Admin link from Navigation Bar) |
| Admin-Document | Assign Document Type |
| Document Library Archive Document | |
| Document Library Delete Document | |
| Manage Contract Visibility | |
| Manage Document Library | |
| Manage Document Types | |
| Manage Notification LIbrary | |
| Manage Questionnaire Library | |
| Manage Solicitation Fields | |
| Admin-Field | Document Field Mapping |
| Manage Field Library | |
| Admin-Organization | Upload Contracts |
| Upload Historical Pricing | |
| Commodity Setup | |
| Manage Suppliers | |
| Order Management | |
| Update (Organization Information) | |
| Update User | |
| Update User Role | |
| View Organization | |
| View User Roles | |
| View Users | |
| Workflow Templates | |
| Admin-Roles | Add Roles |
| Delete Role | |
| Update Role | |
| View Roles | |
| Admin-Setup | Payments |
| Setup | |
| Supplier | |
| Admin-Users | Add Users |
| Delete User | |
| Update User | |
| View Users | |
NOTE: If a user does not have the privilege for a section or subsection, they will not see the corresponding Admin module menu option.
As an example, the image below represents a user that only has:
-
the Access to Edit Organization's Information permission, and
-
none of the privileges listed in the Admin-Document category.
As a result, this users sees only those Admin menu options that are not tied to the assigned privileges in the Admin-Document category.

Using the following image as another example, the image represents a user that has:
-
the Admin-Admin privilege, and
-
all of the privileges listed in the Admin-Document category.
As a result, this user only sees the Admin menu options that are tied to the assigned privileges listed in the Admin-Document category.
