Contract Summary
The Contract Summary page displays the contract Title, Contract Number, General Information, Commodities, Contractors, Pricing, Contract Information, as well as Catalog Items, Documents, Authorization information, and Key Contract designation.
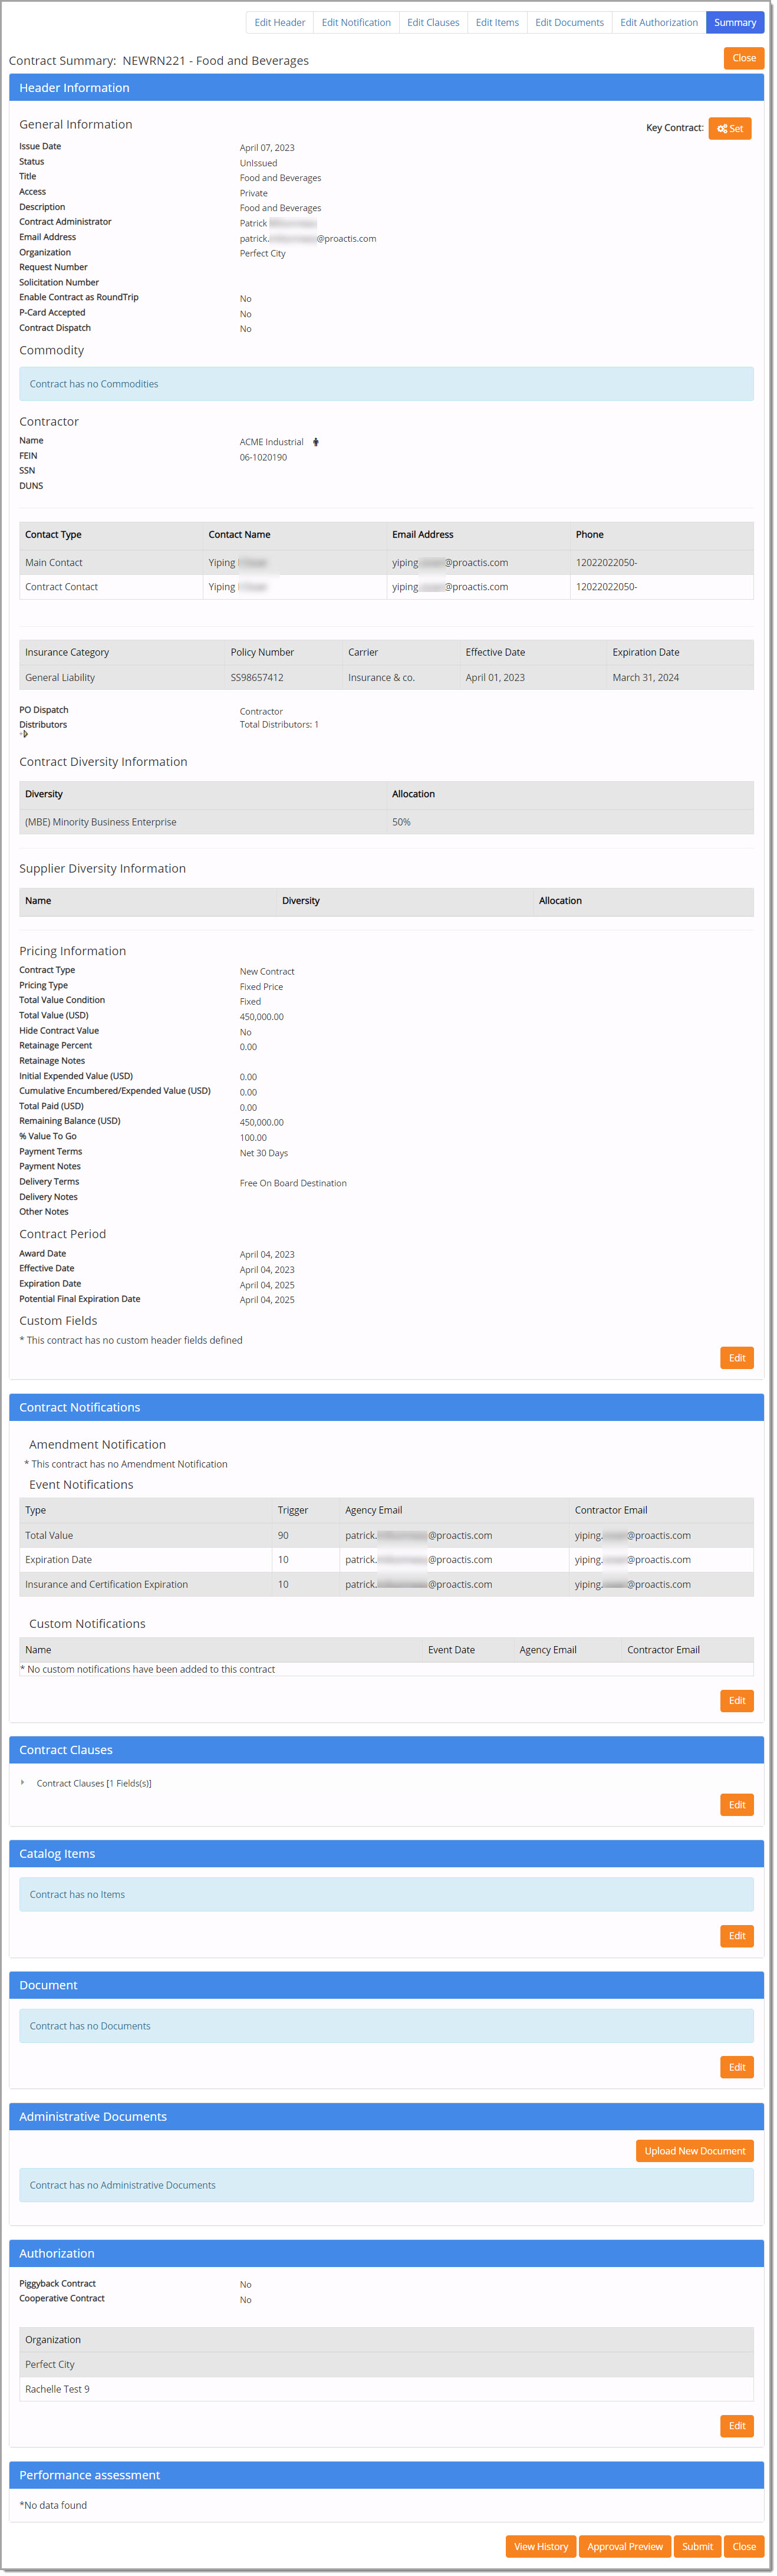
This page allows users to review all the sections of a contract at-a-glance and edit sections as needed.
Edit
Edit links are available at the top of the page.

Edit buttons are available at the bottom of each contract section on the right side.
Key Contracts
If you have Add or Manage Key Contract permissions assigned to your user profile, the Key Contract Set button will be visible in the General Information section of the Header. This button allows you to mark contracts as high-risk for tracking and monitoring purposes.

Follow the steps in the table below to designate a Key Contract.
|
If you are assigned the Manage Key Contract permission: |
||
| Step | Action | |
|
1. |
Select the Set button to assign initial Key Contract designation. Result: A pop-up alert confirms ‘Key Contract Saved Successfully’.
Page refreshes to display Key Contract switch set to Yes value. |
|
|
2. |
Toggle setting between Yes and No to alternately add and remove Key Contract designations. Result: A pop-up alert confirms ‘Key Contract Saved Successfully’.
NOTE: Read-only Yes/No settings are visible to users without Manage permission as a green check mark ü or a red X, respectively.
|
  |


|
If you are assigned the Add Key Contract permission: |
||
| Step | Action | |
|
1. |
Select the Set button to assign initial Key Contract designation. Result: A pop-up alert confirms ‘Key Contract Saved Successfully’.
Page refreshes to display read-only designation as a green check mark ü.
NOTE: Read-only designation is visible to users without Add and/or Manage Key Contract permissions. |
|
When working with Key Contracts, remember the following:
-
Key Contract indicator is available on the Edit Contract Summary and, for contracts with an Active or Issued status, the View Contract Summary.
-
Users in a child organization are unable to Add or Manage the designation of contracts created at the parent level.
View History
The View History button is located at the bottom of the page.
Select to open the Contract - Modification History page.

This page displays the Date and Time, the User, and the Description of each action performed on the contract.
Click Return to return to the Summary page.
Submit
Submit the contract. The Status of the contract will display as either Issued, Active, or Awaiting Approval.
-
Issued - Identifies the contract as saved and submitted but not yet effective.
-
Active - Identifies the contract as submitted and effective.
-
Awaiting Approval - If your organization utilizes contract approval workflow, then the contract will need to be approved before it can become Active on the effective date.
Close saves the contract without submitting it; the Status of the contract will remain as Unissued. This button is available at the top and the bottom of the page.