Lock Request
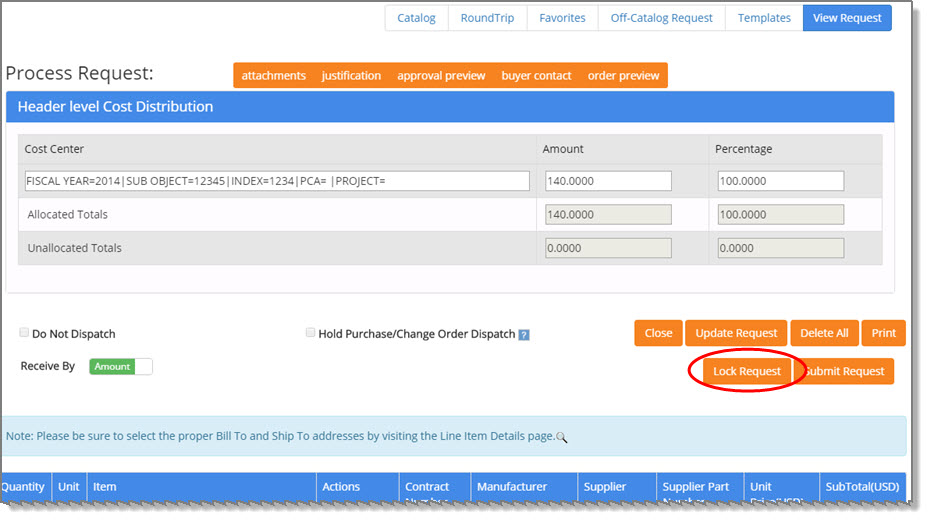
For those organizations that choose to enable this functionality and if you have the associated role assigned to your account, a Lock Request button will be visible on the View Request page.

Selecting the Lock Request button locks the request and prevents other users from updating or editing it while it is locked.
A confirmation message displays asking if you wish to proceed with locking the request.

Click Cancel to end to close this message and to not proceed with locking the request.
Click OK to proceed with locking the request. A confirmation message displays stating that it has been locked successfully.

Click OK to acknowledge.
The View Request page will refresh to include an Unlock Request button. This process is discussed later in this topic.
Track Requests - Locked Requests
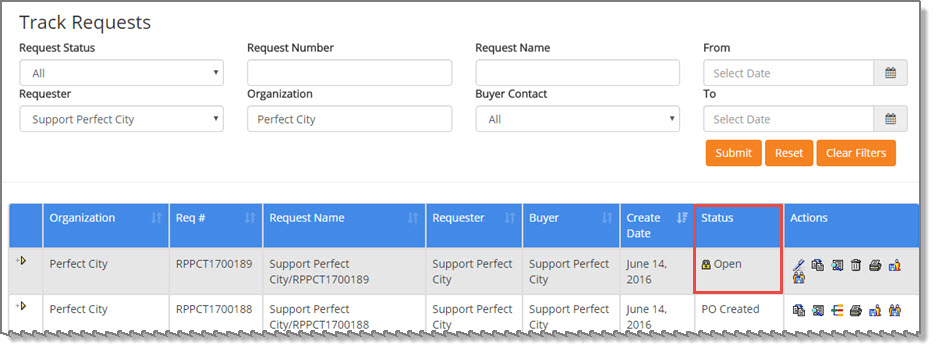
The Track Requests page displays a lock ![]() next to those requests that are currently
in locked status.
next to those requests that are currently
in locked status.

If users, other than the user that placed the lock on the document, attempt to open and edit a locked Request, they will be notified that the document is currently being used in another session.

Their only option is to select OK to close the advisory message.
The Request may still be copied, printed, history viewed and templates created. However, a locked Request may not be deleted other than by the user that locked it.
Unlock Request
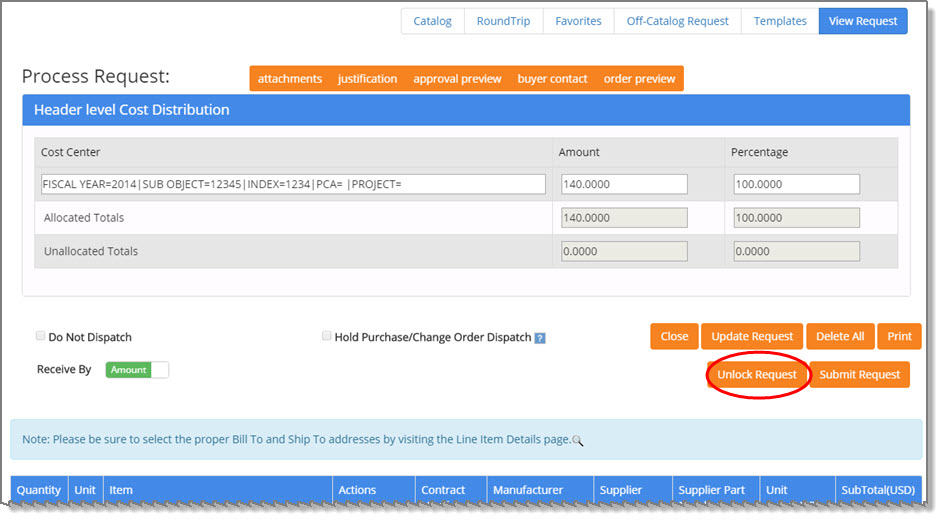
When the Request is locked and being edited by the user that owns the lock, an Unlock Request button is visible on the View Request page.

Select Unlock Request. A confirmation message displays.

Click OK to acknowledge that the request is now unlocked.
Once unlocked, follow your standard business process to review and submit the request.
Submit Request
Prior to submitting the Request, the user that locked the Request must first unlock the document. The following message displays if the user attempts to submit it prior to unlocking it.

Click OK to acknowledge and perform the unlock steps shown above.